

Easy Handmade Beret

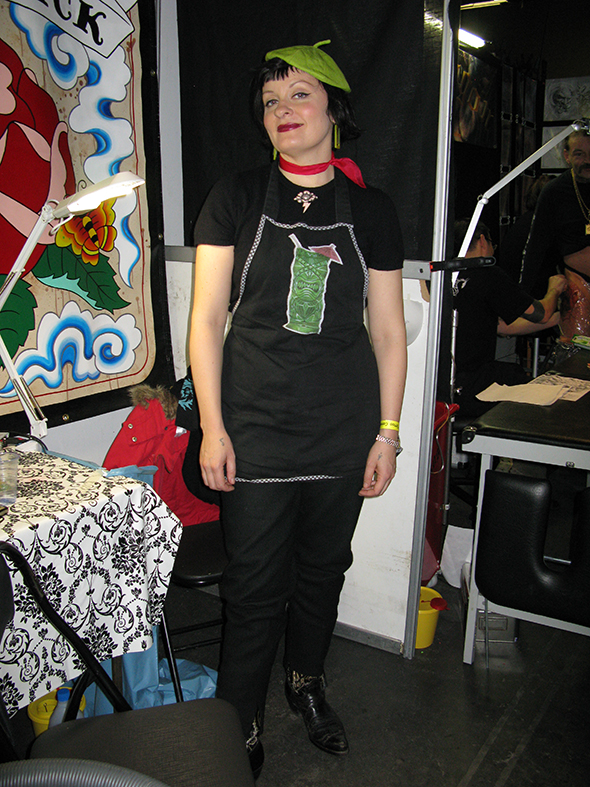
This little beret is so easy to make! I created this pattern by studying one of my vintage hats. This lime green one I found at a Brooklyn flea market.


10 Steps to make a mini beret
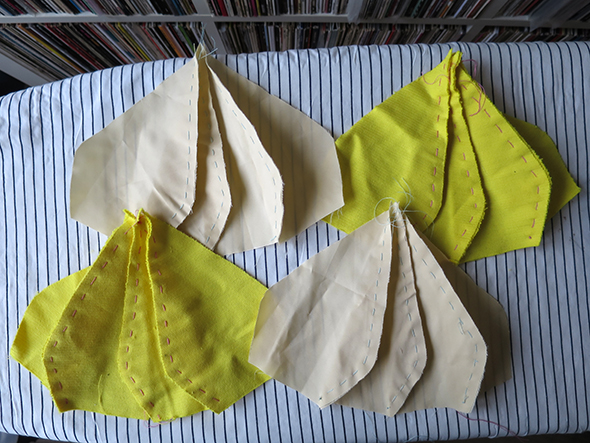
1.You just cut 8 pieces; download the pattern below. Print out and pin to you fabric. Cut 8 pieces from a lining material.
2.Next, sew two pieces together by hand with a basting stitch, I like to use large stitches and a contrasting color to make it easier to remove these stitches after machine sewing. I like to do my basting on my commute to work in the metro or on train trips.
3.Sew two of your two piece groups together to make 4 groups of two, to make 2 groups of four. Repeat these first three steps with your lining material.
4.Now machine stitch over each basted line of stitching.
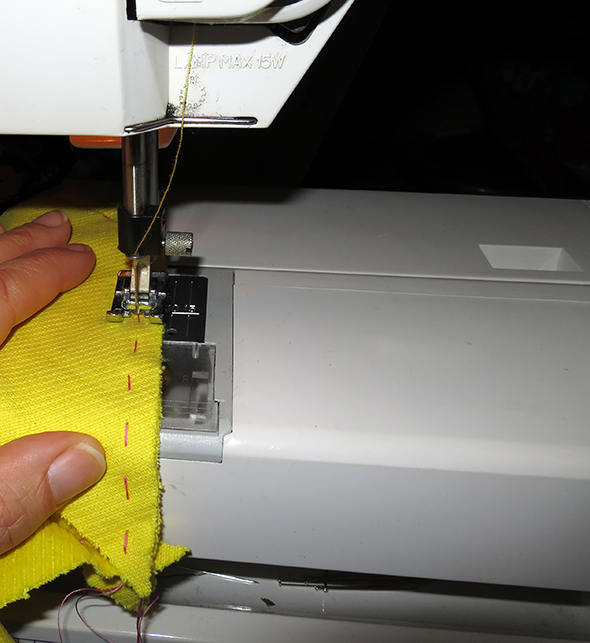
5.Remove your basting thread, press everything and
6.Sew the two groups together, leave a very small opening at the top center of the beret.
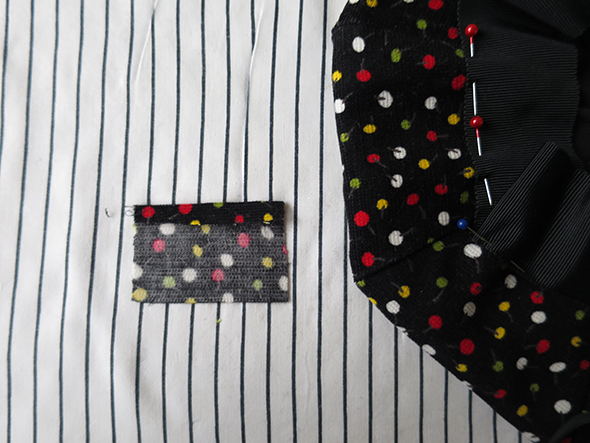
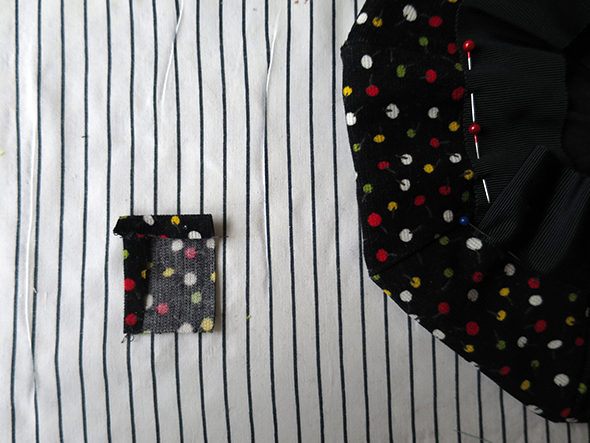
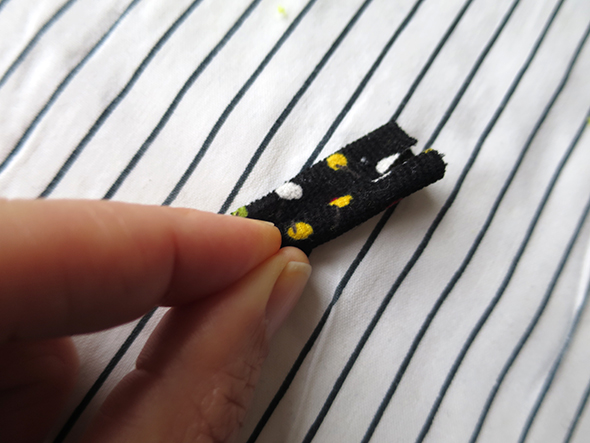
7.Add your apple stem! Cut a piece of matching fabric 4.5 cm by 5.5 cm
I make the apple stem by pressing one side of a piece of fabric, then rolling it up and making an invisible stitch. If you forgot to leave an opening you can remove a few stitches at the center with a seam ripper and insert your stem and fix with a few stitches.

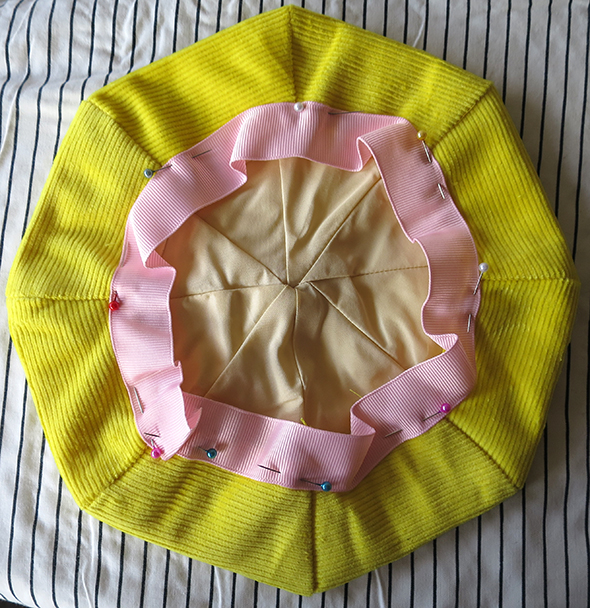
8.Insert your lining inside so you see the clean side of your project like this:
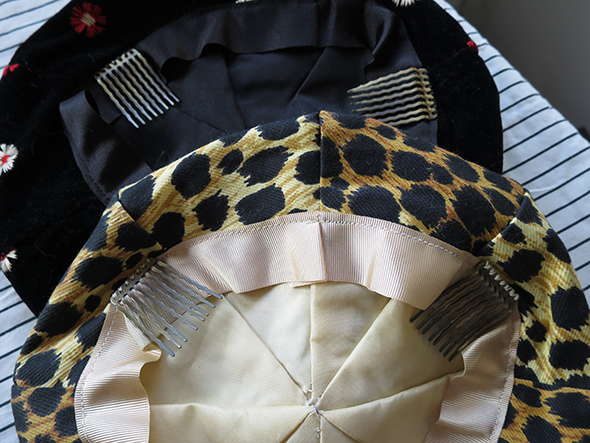
9.Pin grosgrain ribbon around the raw edges of your beret.
10.(Optional) add some hat combs to keep the beret from slipping off your head.
I have a question regarding a handbag made by sunny buick
please email your question to sunnybuick@hotmail.com
Hi,I have a wool fabric and would like to help me to sewing barret. Are d you doing such a job?